
NEW AND IMPROVED VERSION: Available on Noptic Discord
https://discord.gg/KXn64c9MbB
Please visit Noptic Discord to download the updated version. The download on FS.to contains the old version.
--------------------------------------------------------------------------------------------------------------------------------------------------------------------------------
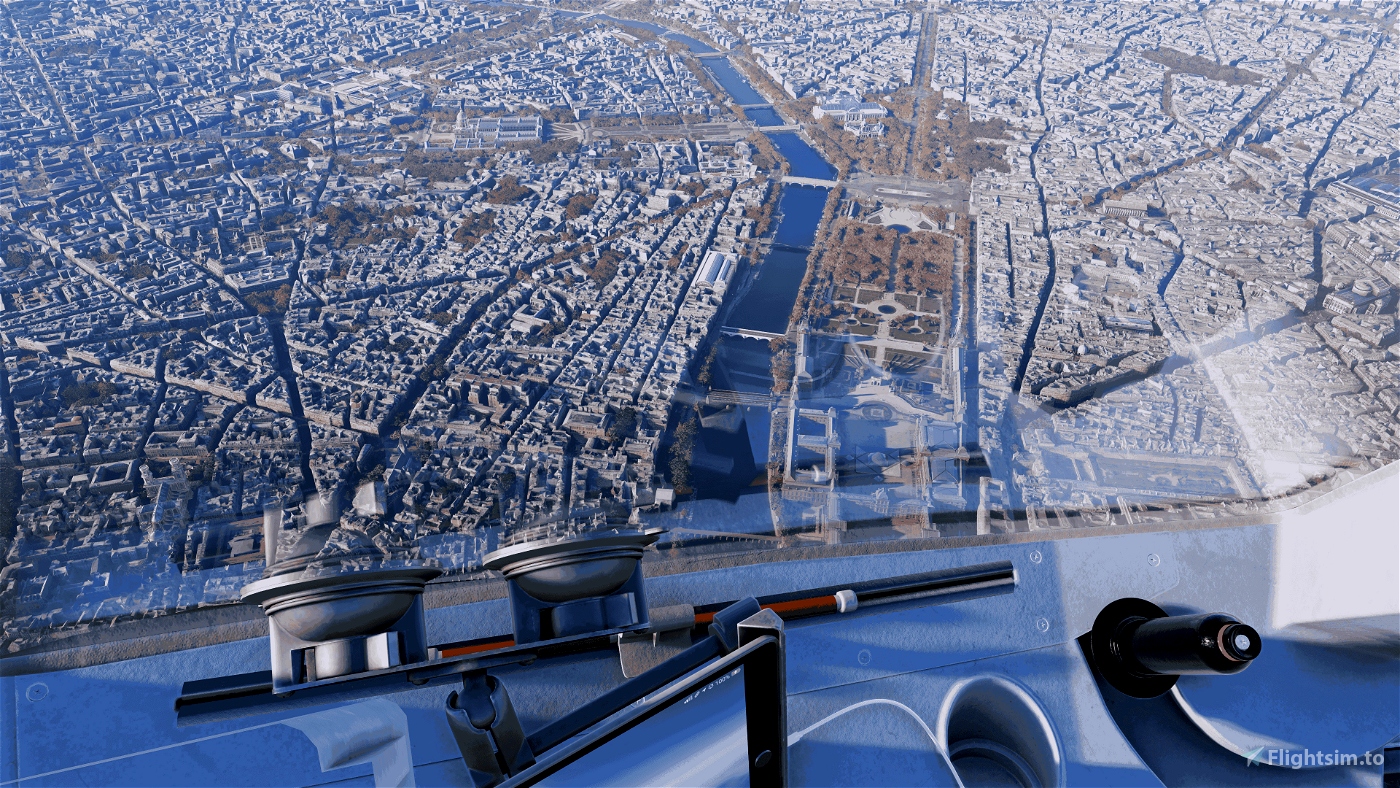
Day-Preset designed with Bloom OFF
Please do read the below information
MSFS Config:
Please note that I have changed the following settings in the MSFS config file:
My file location MS store :
(C:\Users\*NAME*\AppData\Local\Packages\Microsoft.FlightSimulator_8wekyb3d8bbwe\LocalCache
- Eye Adaptation 0 (not sure if changing this does anything but just stating for completeness)
Also, please note that I have Bloom Off in the MSFS Settings - turning it on will result in a different look:)
The LUT contains all the chroma and Luma adjustments. Using a LUT helps minimize the performance impact.
Important: Please be aware that this was created based on my setup/monitor, therefore, I suggest you make adjustments as necessary.
The preset includes the Lightroom.fx effect. Here, you can adjust colours, saturation (overall and individual colours), vibrance, exposure and temperature.
- Local Laplacian - (I would try values between 50-275). This is 'very intensive' on the GPU. On a 4090 with Frame Gen, I see minimal impact as I'm CPU-bound. It is the best effect for adding detail/clarity, IMO. However, you could simply disable the effect and adjust ContrastStretch instead.
- For contrast changes, I recommend using ContrastStretch.fx; this shader adaptively adjusts the contents of the images based on its content. I believe this gives you more control over simply increasing overall contrast. If you like a more contrast feel, increase the dark maximum blending and light maximum blending values.
- Adaptive Sharpness: This is setup-dependent, and if in doubt, turn it off. Please use your own settings, as mine were based on a 4K monitor with DLSS quality and CAS 200 in the MSFS menu. I also turned off sharpness in the MSFS config - that's why I use reshade sharpness 🙂
Updates:
This is a day preset only; I do aim to release a night version, with the goal of the preset being able to switch automatically based on screen brightness. Saturation, although this is probably best done individually for your monitors.
Files Required---> To download the files in the shaders and textures and move to reshade textures/shaders folder ---> https://github.com/martymcmodding/METEOR
FAQ:
When I select the preset there is a red error message?
This likely means you are missing some required files. Please check that you have downloaded the METEOR textures/shaders and have placed the .png file (included in the FS.to .ZIP) into your Reshade textures folder.
The preset is too bright?
Please make sure bloom is off - sorry that's how I designed this preset. The simplest way to reduce brightness is to reduce the LUT luma amount. The lower the value the closer to default it will look like.
Image too grainy, too sharpened?
As mentioned above, this is really dependent on your own setup. If in doubt turn adaptive sharpen off and leave sharpening on in MSFS config file. Also make sure you have not got film grain enabled in Reshade AND MSFS config.
How can I get better performance?
In the reshade menu please uncheck LocalLaplacian (performance impcat: high). The biggest difference in visuals comes from the LUT, Lightroom and ContrastStretch.
I want more/less contrast?
Still adjusting/testing. Easiest way to increase/decrease contrast is to increase GlobalContrast value in Lightroom.fx and adjust the ContrastStrech values.
Too Blue?
If you want to keep the brightness/contrast but keep the default colours, reduce the Chroma amount - LUT.fx
Thank you, and happy ✈️!
(This preset is still a work in progress)
For those who use MSFS Map Enhancement - Apple 🍏 Maps... here are my settings:
Red, Blue, Green 0%, Saturation 0%, Brightness -5%, Contrast 0%


tommybutch
AppleUK author
5 months ago